This post may contain affiliate links. Please read my disclosure policy.
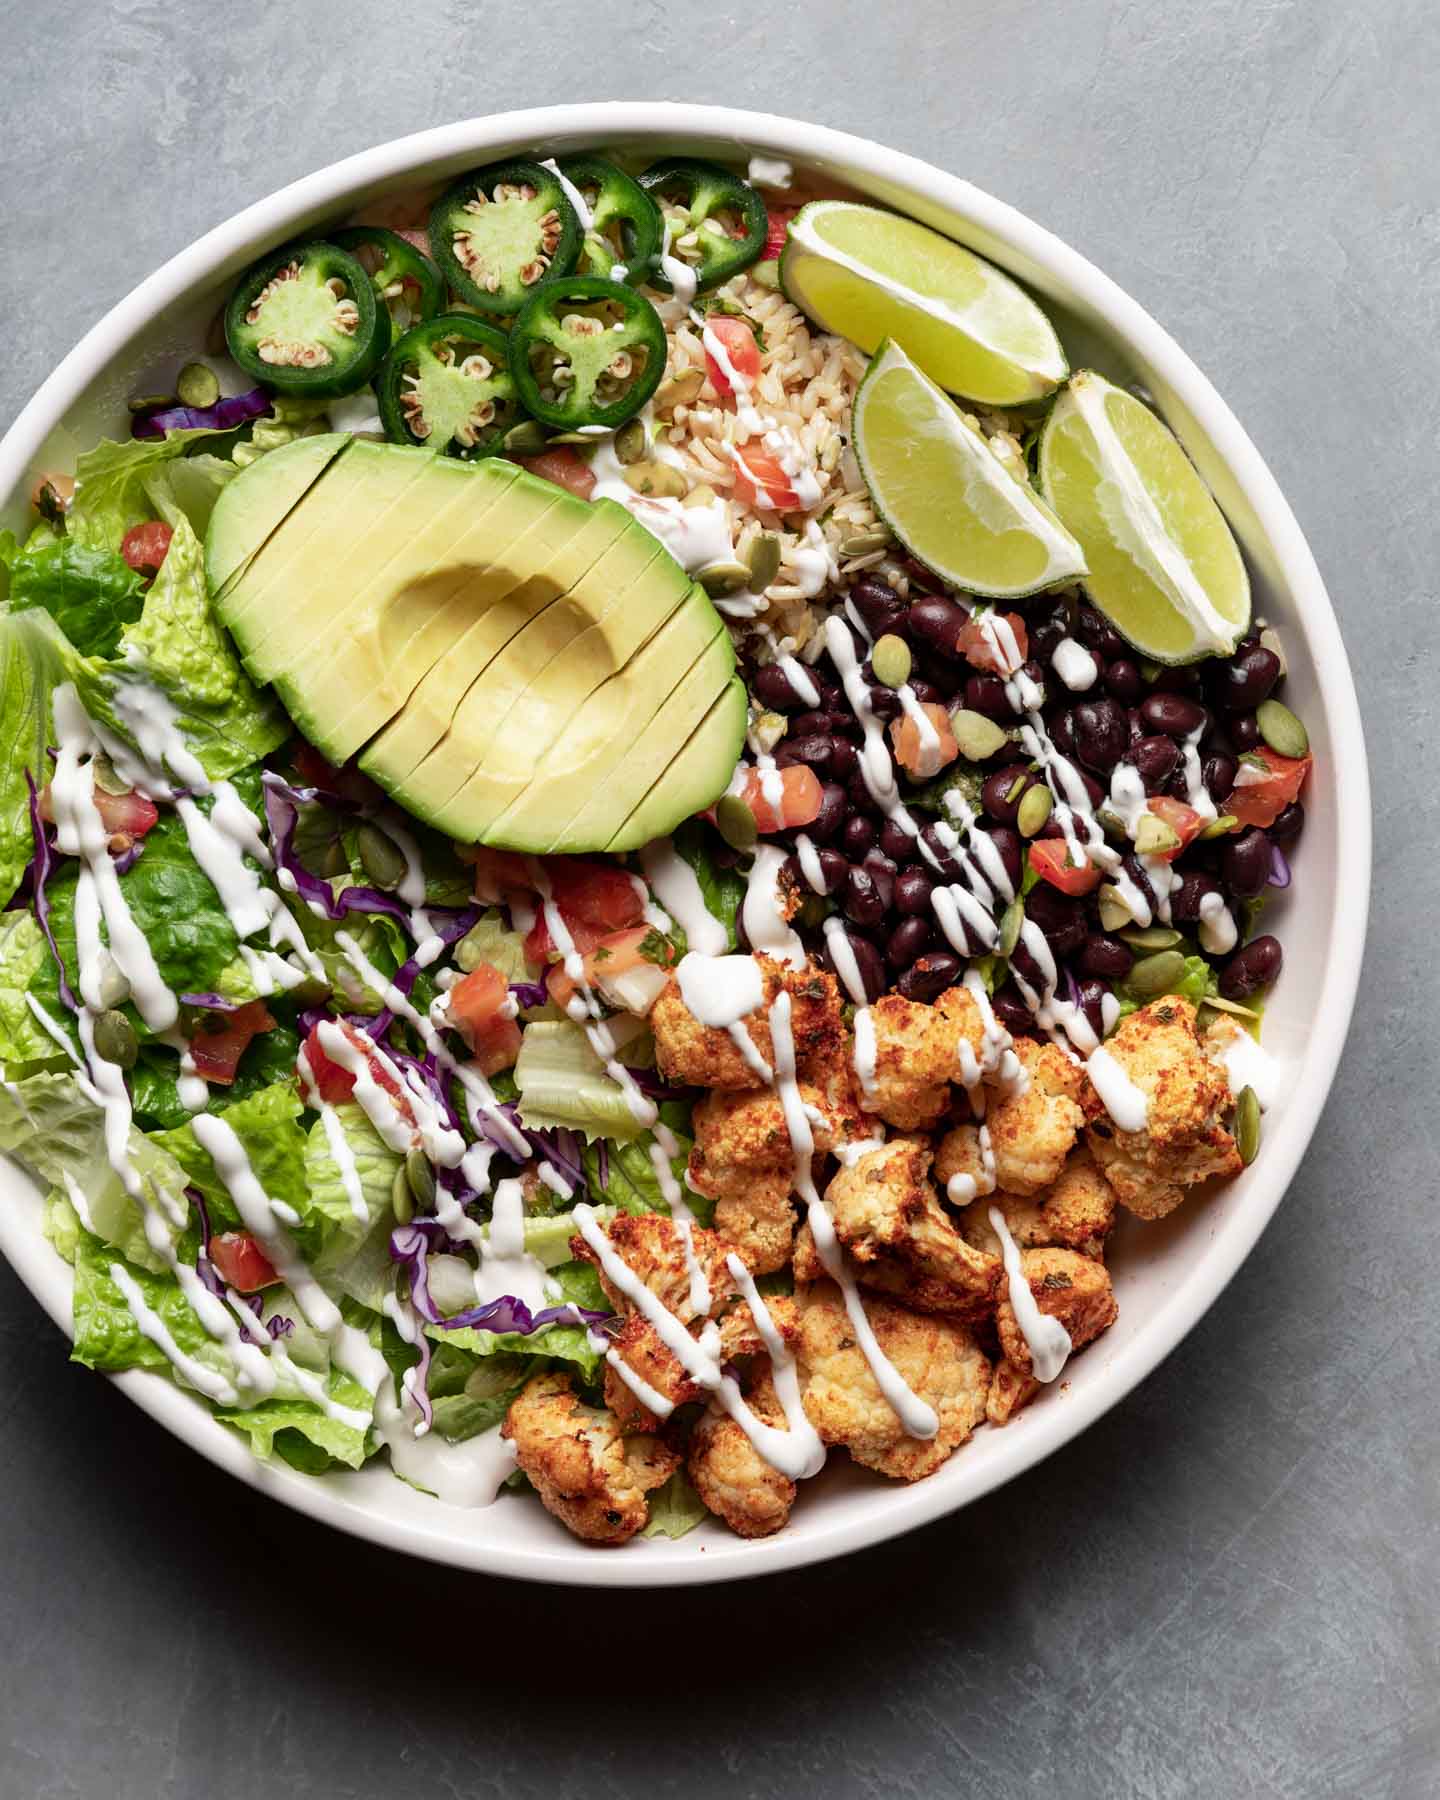
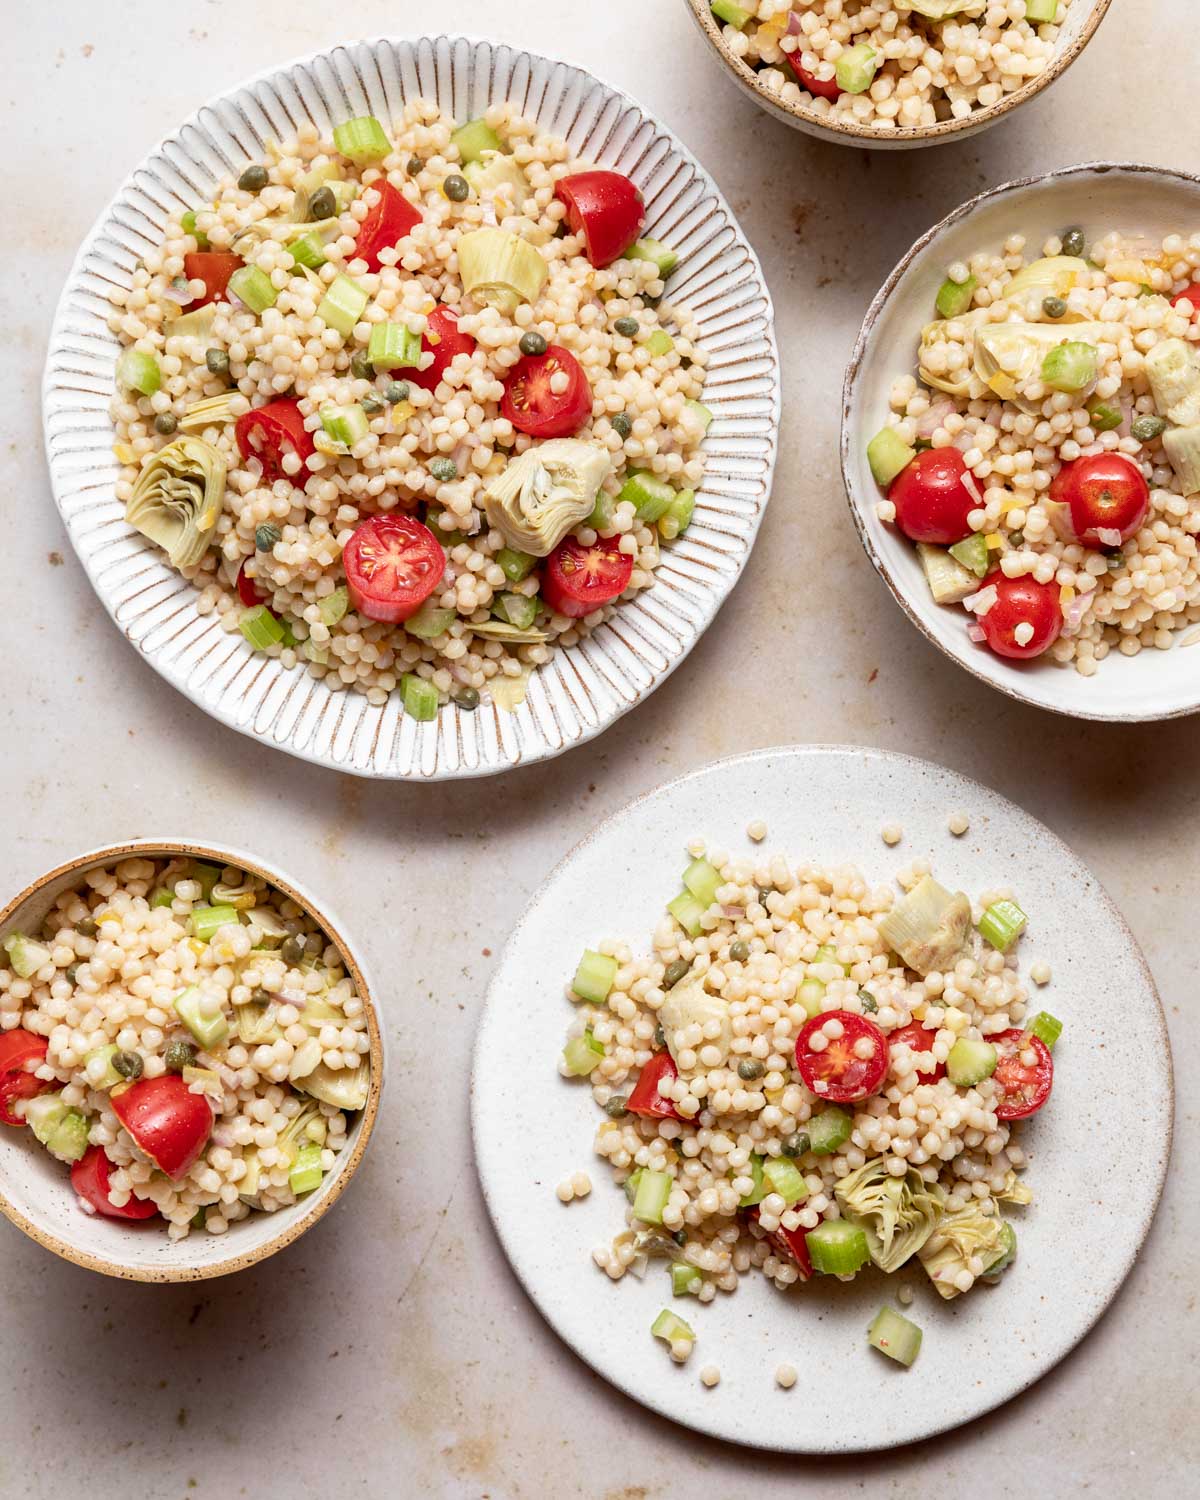
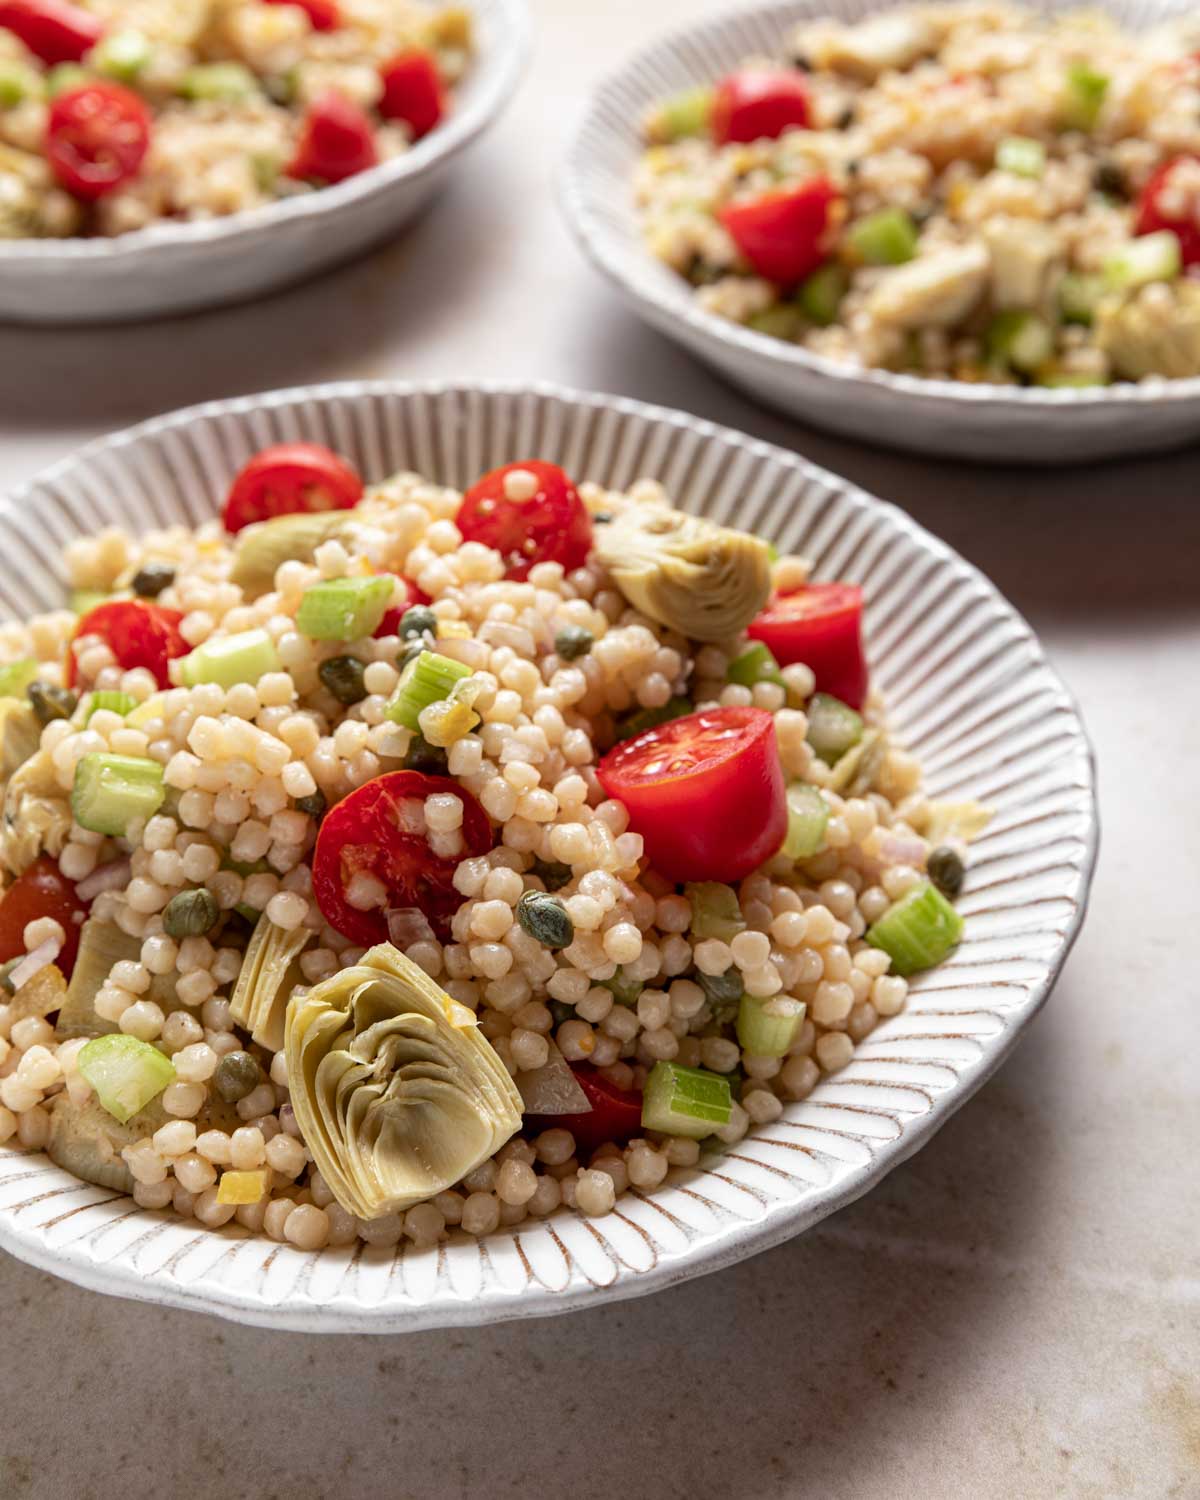
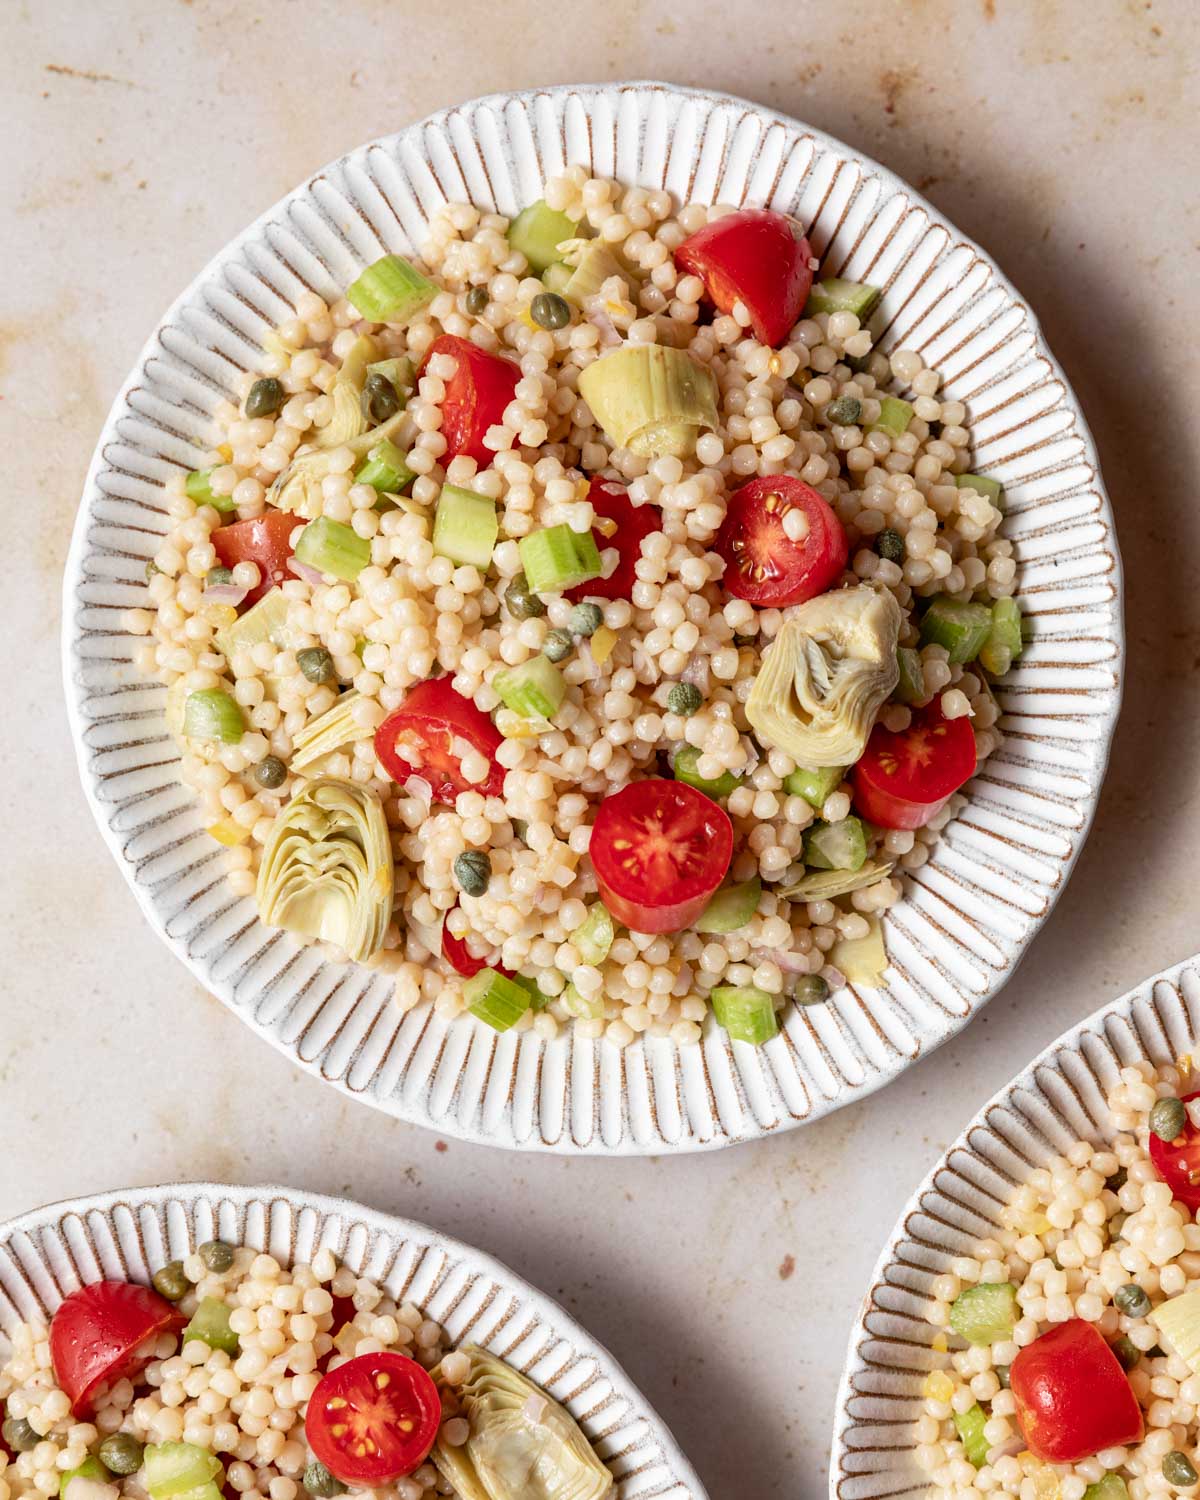
This Moroccan Couscous Salad features a base of tender pearl couscous tossed with tomatoes, artichoke hearts, capers, shallots, preserved lemon, and a simple vinaigrette. It’s a satisfying combination of Moroccan flavors and textures that make it the perfect side dish, served warm or cold, for any meal.
What is Pearl Couscous?
Pearl couscous, also known as Israeli couscous or ptitim, is essentially a pasta made of semolina flour. After being shaped, the small balls of dough are toasted, which imparts a nutty flavor and slightly chewy texture. Because of its small size, pearl couscous cooks quickly, making this salad a great choice if you need to get a last-minute side whipped up.
Despite the name, pearl couscous should not be confused with couscous, which is much smaller and is dried rather than toasted. If you can’t find pearl couscous, use a small pasta like orzo or acine di pepe instead.
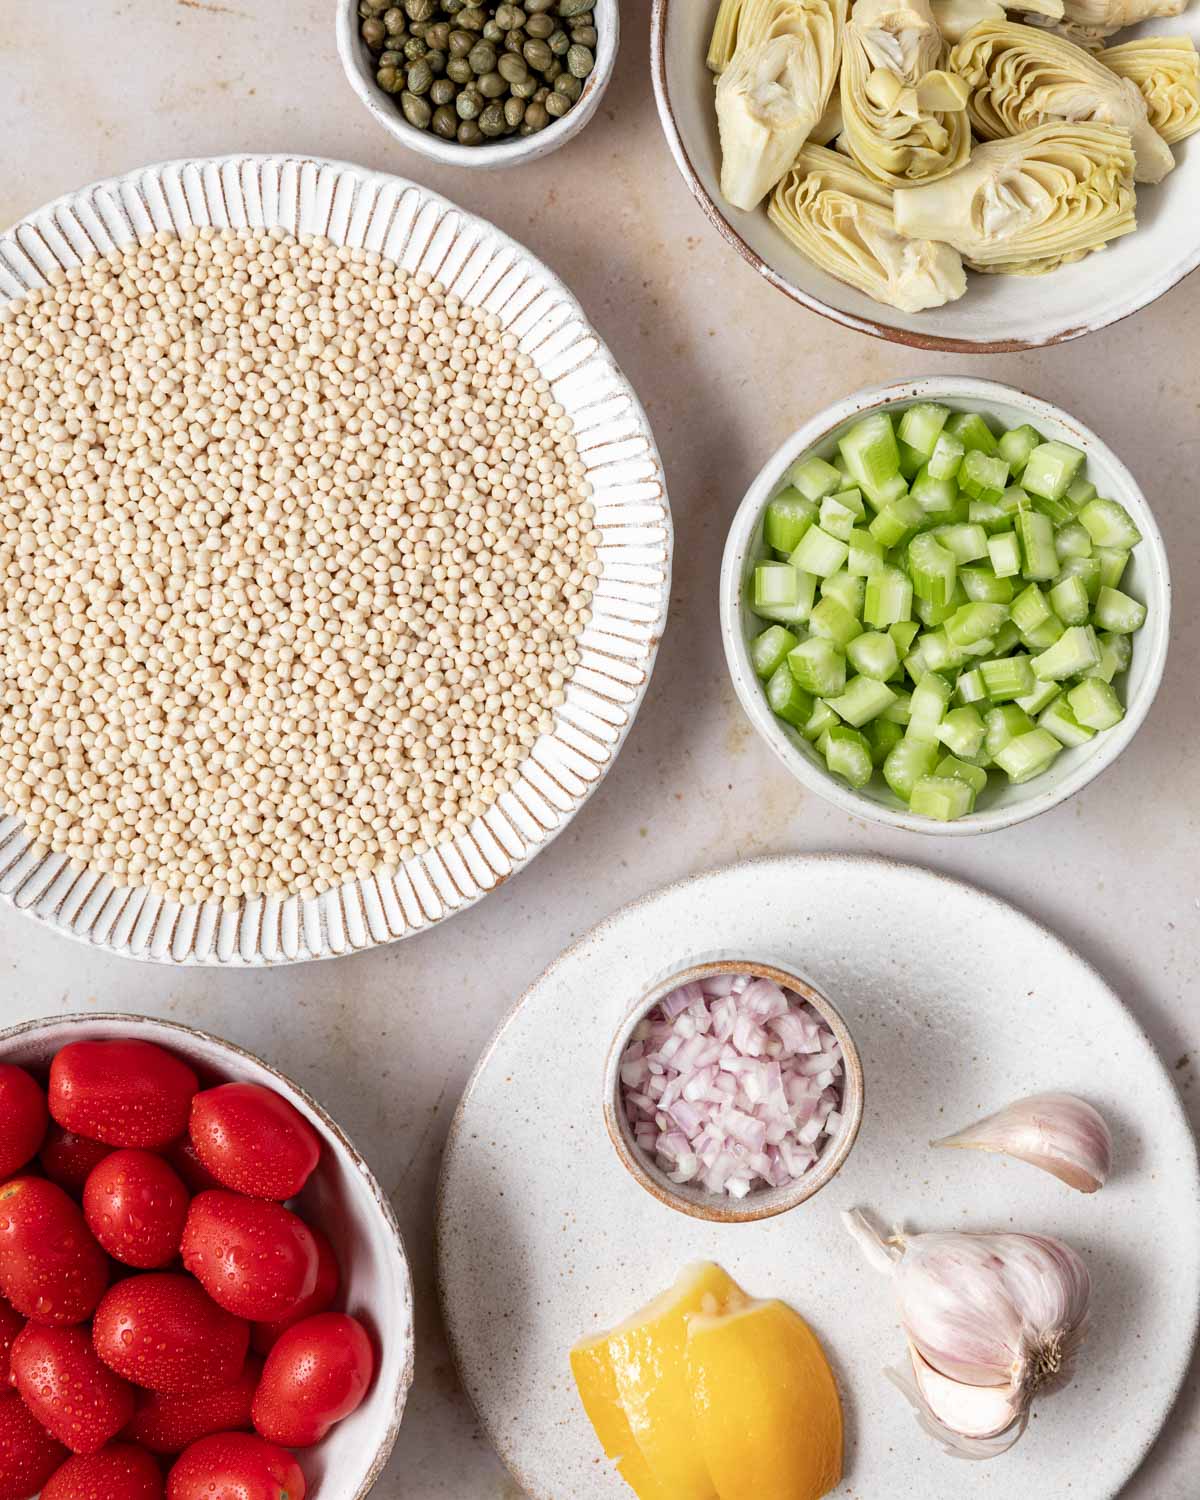
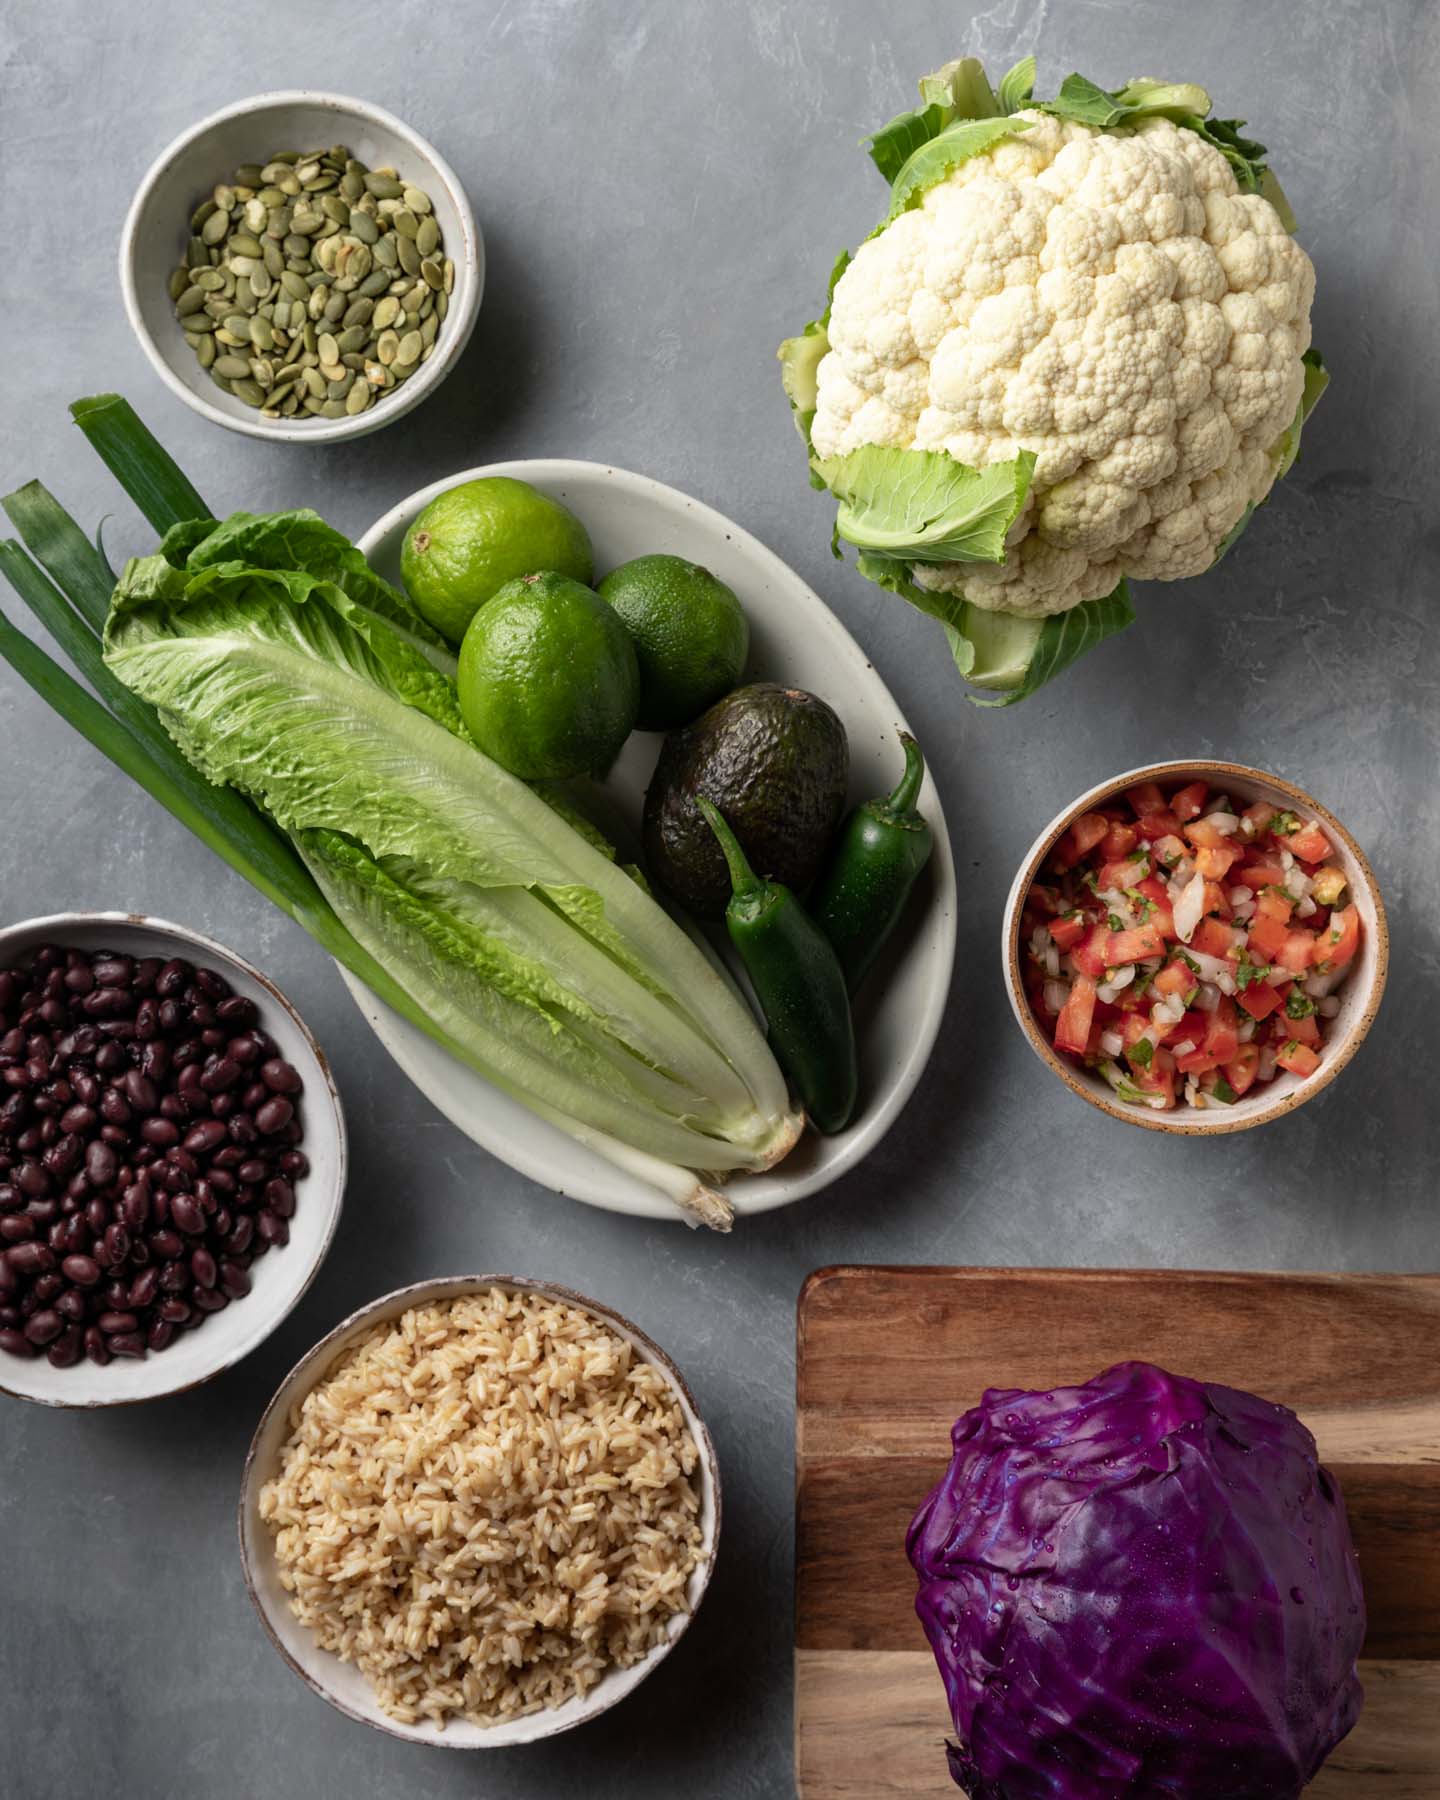
INGREDIENTS
-
- Pearl couscous – If you can’t find pearl couscous, a small pasta like orzo or acini di pepe makes a great substitute.
- Salt – For the most pure flavor without any additives, I love using Redmond Real Salt.
- Garlic
- Lemon juice
- Olive oil
- Cherry tomatoes – While other tomatoes can be substituted, cherry tomatoes are the perfect size for this salad.
- Celery
- Artichoke hearts
- Capers
- Shallot
- Preserved lemon – Preserved lemons are a traditional ingredient used in Moroccan and Middle Eastern cooking. Essentially, preserved lemons are lemons that have been pickled in salt and their own juices. The simple preserving process involves quartering the lemons, rubbing them with salt, then packing them into jars and allowing to age for at least a month. They can be found online, in specialty markets, and in some well-stocked grocery stores.
INSTRUCTIONS
This Moroccan Couscous Salad is so quick and easy to put together! To start, you’ll boil the couscous until tender, which takes about 15 minutes. Drain and place in a large bowl, then immediately add the garlic.
Next, whisk together the lemon juice, olive oil, and black pepper. Toss the tomatoes, celery, artichoke hearts, capers, shallot, and lemon with the couscous. Drizzle the dressing over the salad and stir.
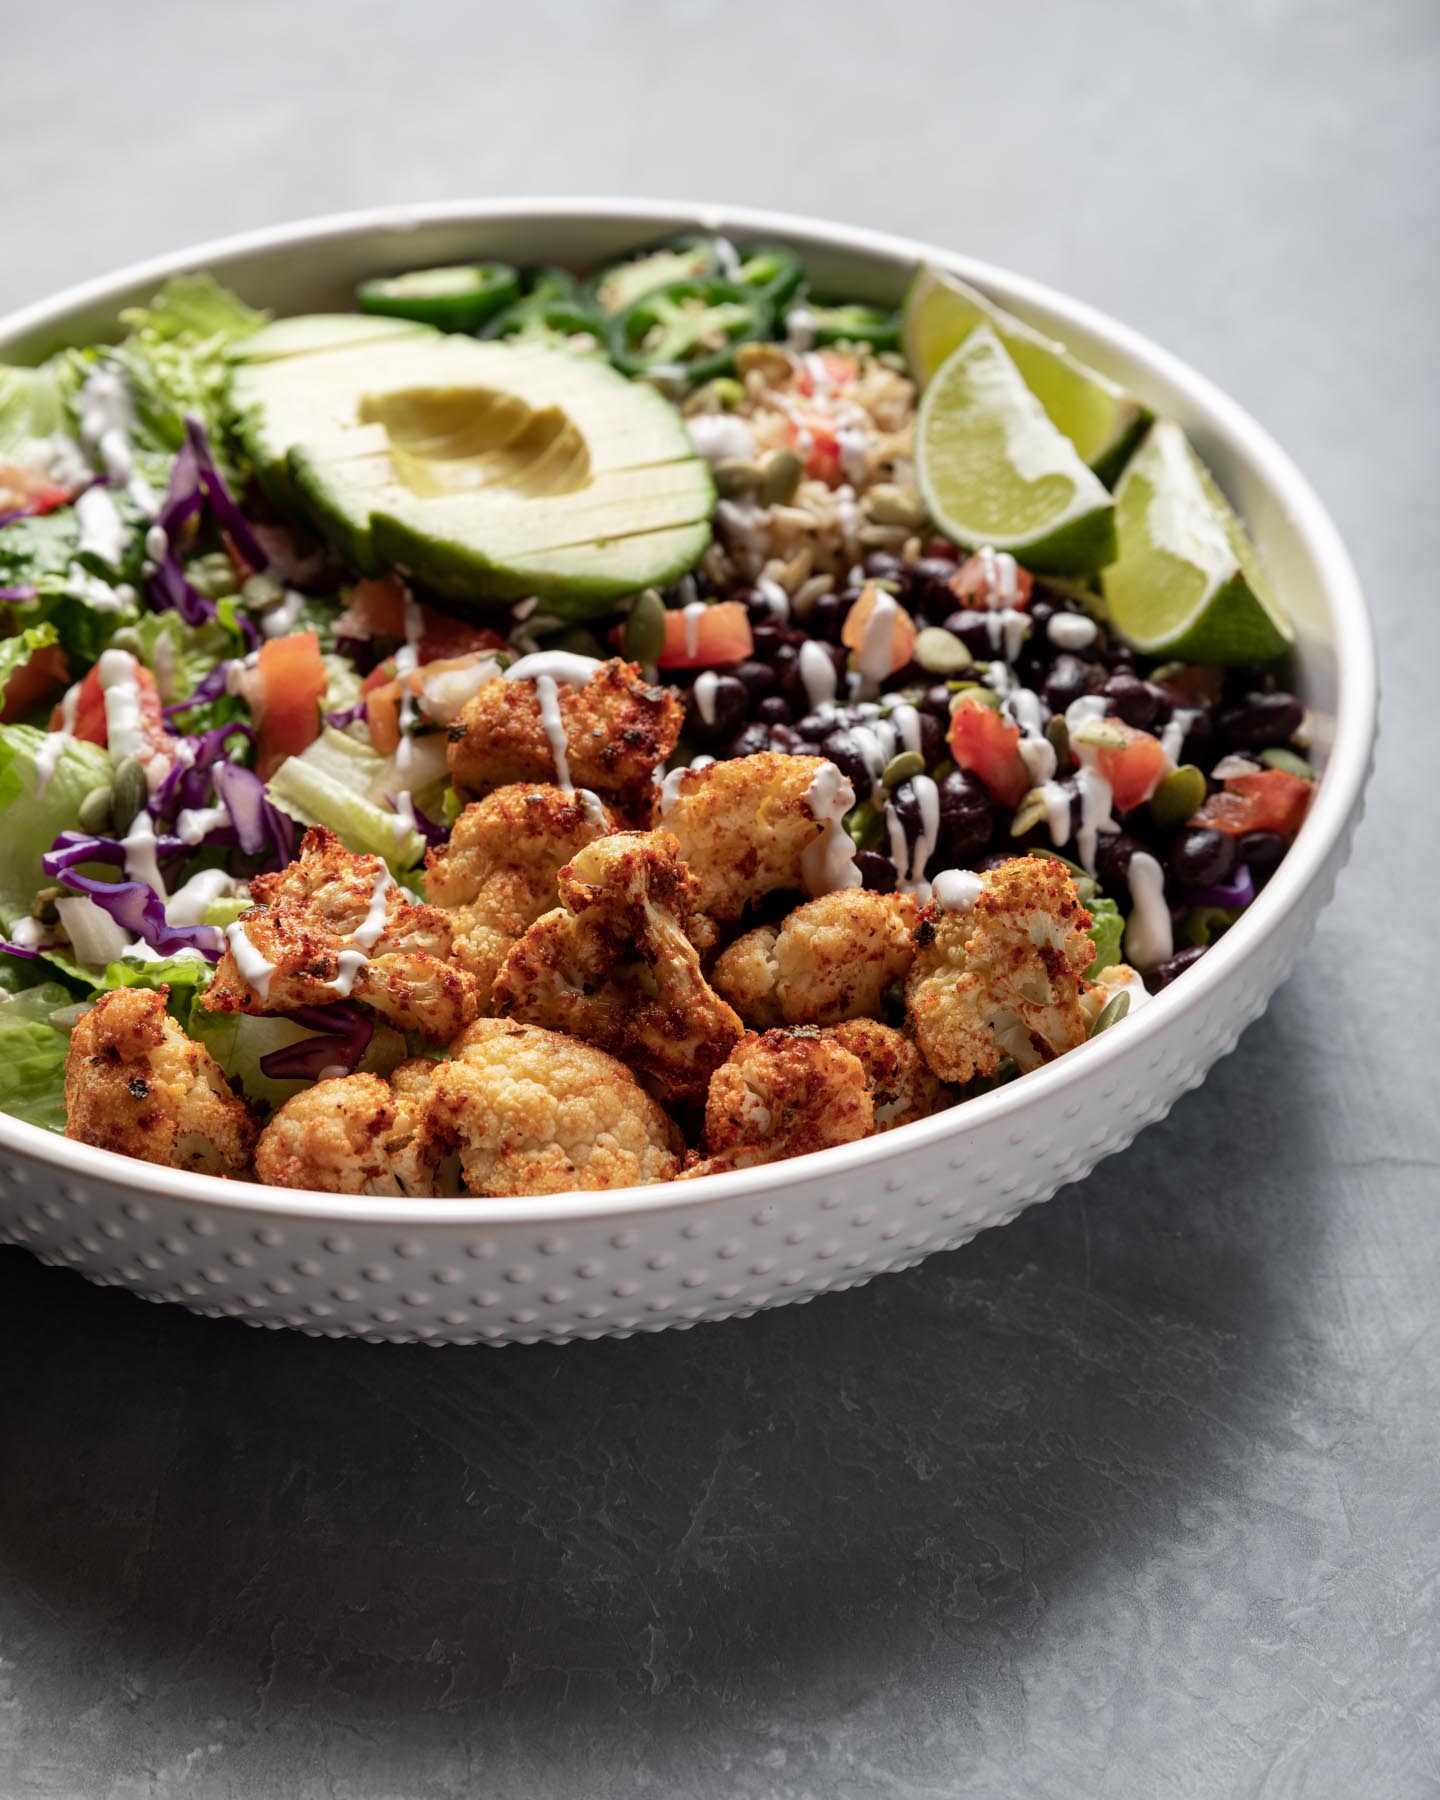
Ready in less than half an hour, this salad makes a great last-minute side dish.
CHEF’S TIPS
If you want to add more flavor to your pearl couscous, try cooking with vegetable broth instead of water.
SERVING SUGGESTIONS
This salad would make the perfect addition to other Moroccan-inspired vegan dishes such as stuffed eggplant, flatbread, or hummus.
STORAGE SUGGESTIONS
Refrigerate leftovers in a closed storage container and use within 3 to 5 days. This salad can be served warm, at room temperature, or cold.
MORE SALAD RECIPES
- Vegan Mexican Street Corn Salad
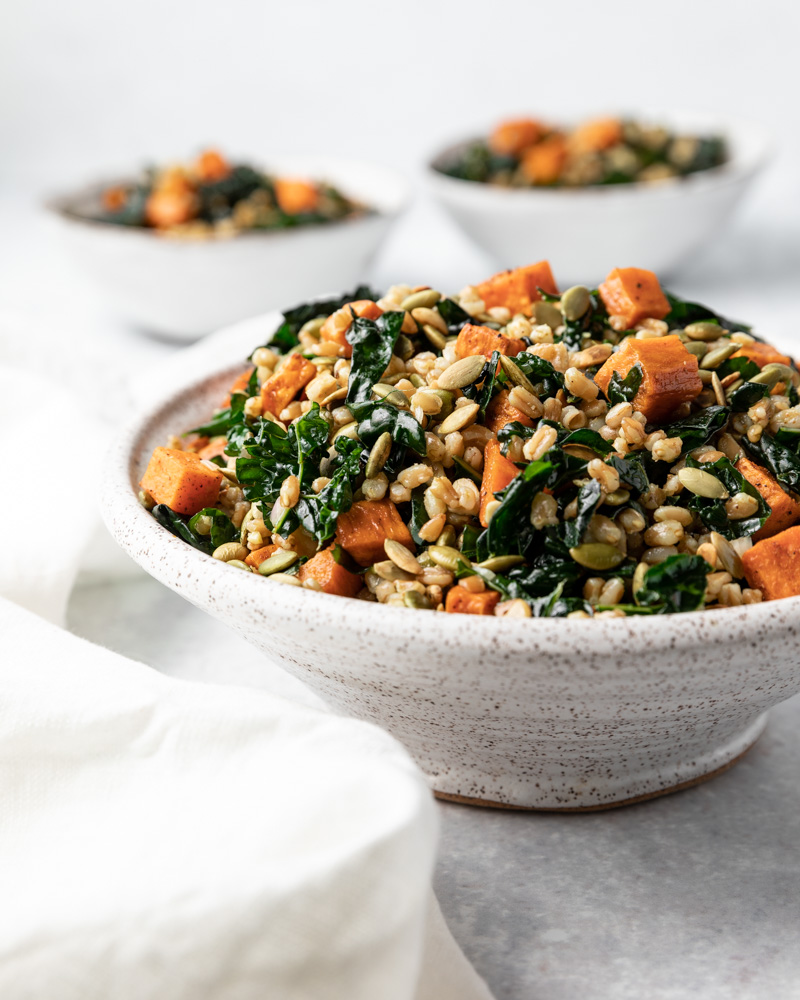
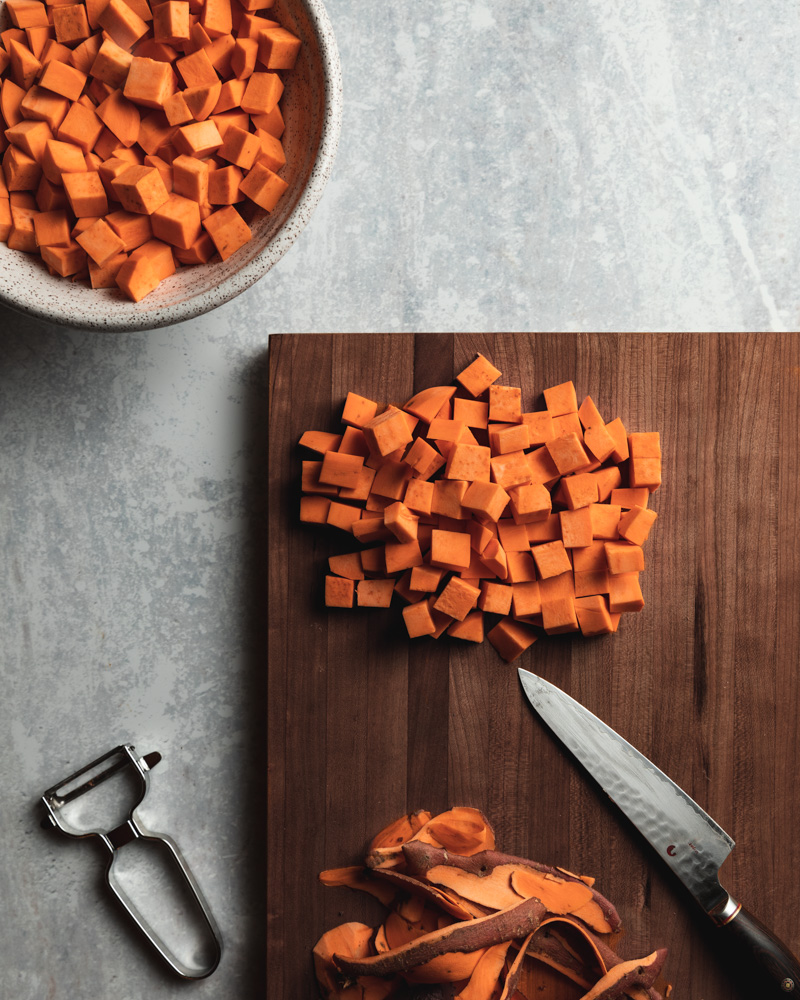
- Farro Sweet Potato Salad
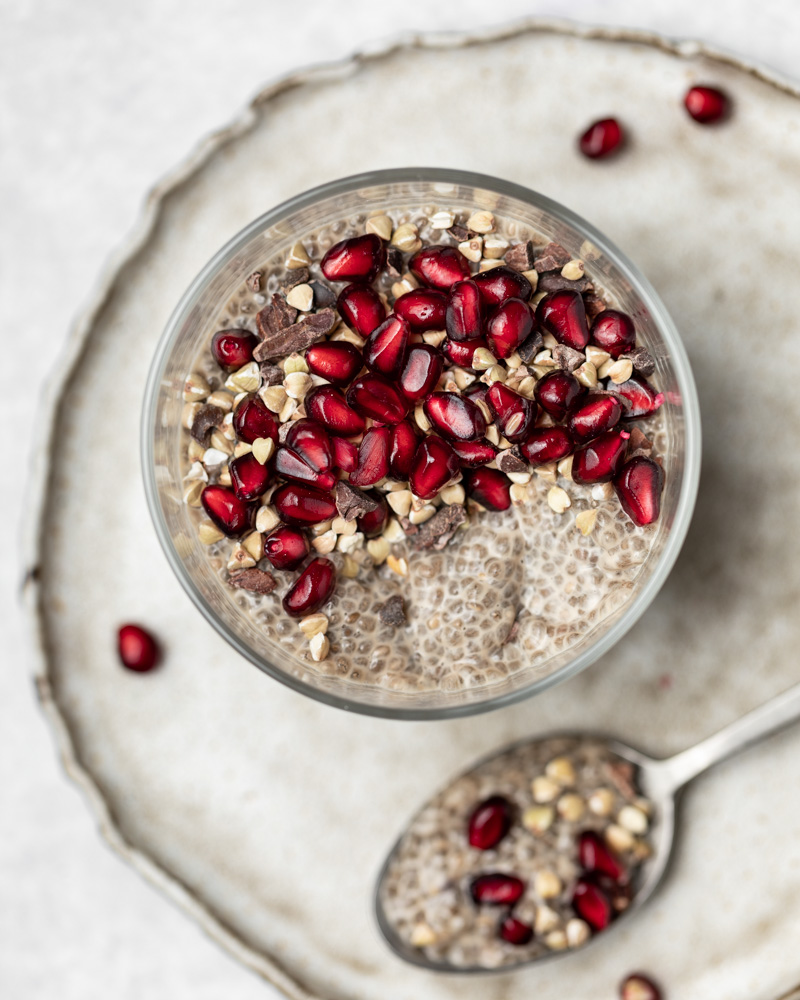
- Black Lentil Pomegranate Salad
- Purple Barley Romanesco Salad
HUNGRY FOR MORE?
Follow along on Instagram, Pinterest, and Facebook for all my latest updates!
If you liked this recipe, be sure to let me know by leaving a comment and rating below!
Print
Moroccan Couscous Salad
- Prep Time: 10 minutes
- Cook Time: 15 minutes
- Total Time: 25 minutes
- Yield: 6 servings 1x
- Category: Salad
- Method: Stovetop
- Cuisine: Mediterranean
- Diet: Vegan
Ingredients
- 3 cups water
- 2 cups pearl couscous
- 1 tsp salt
- 2 cloves garlic, minced
- 2 Tbsp lemon juice
- 2 Tbsp olive oil
- 1/2 tsp ground black pepper
- 1 pint cherry tomatoes, halved
- 3 celery ribs, diced
- 1 (14-ounce) can quartered artichoke hearts, rinsed and drained
- 1/4 cup capers, drained
- 1 large shallot, minced (about 1/4 cup)
- 1 preserved lemon, rinsed and seeds removed, finely chopped
Instructions
- Bring water to a boil in a large saucepan, then add couscous and salt. Return to a boil, then reduce heat to maintain a simmer. Cover and cook until tender, about 15 minutes. Drain off any excess water if necessary.
- Place cooked couscous in a large bowl and immediately add garlic, stirring well to combine. Let cool for 5 minutes.
- Meanwhile, add lemon juice, olive oil, and black pepper to a small bowl and whisk to combine. Set aside.
- Add tomatoes, celery, artichoke hearts, capers, shallot, and preserved lemon to couscous and toss to combine.
- Drizzle dressing over the couscous and stir to combine.